My Goal: This year will be completely different. He will be PUMPED about turkey day. We will have decorations, matching tie for him and hair bow for her. The whole 9 yards. We already have the actual day down since we are spending it with some awesome down-the-road-neighbors that I have known since I was a small child, but we have zero of the other stuff. This is my solution: Time to get crafting
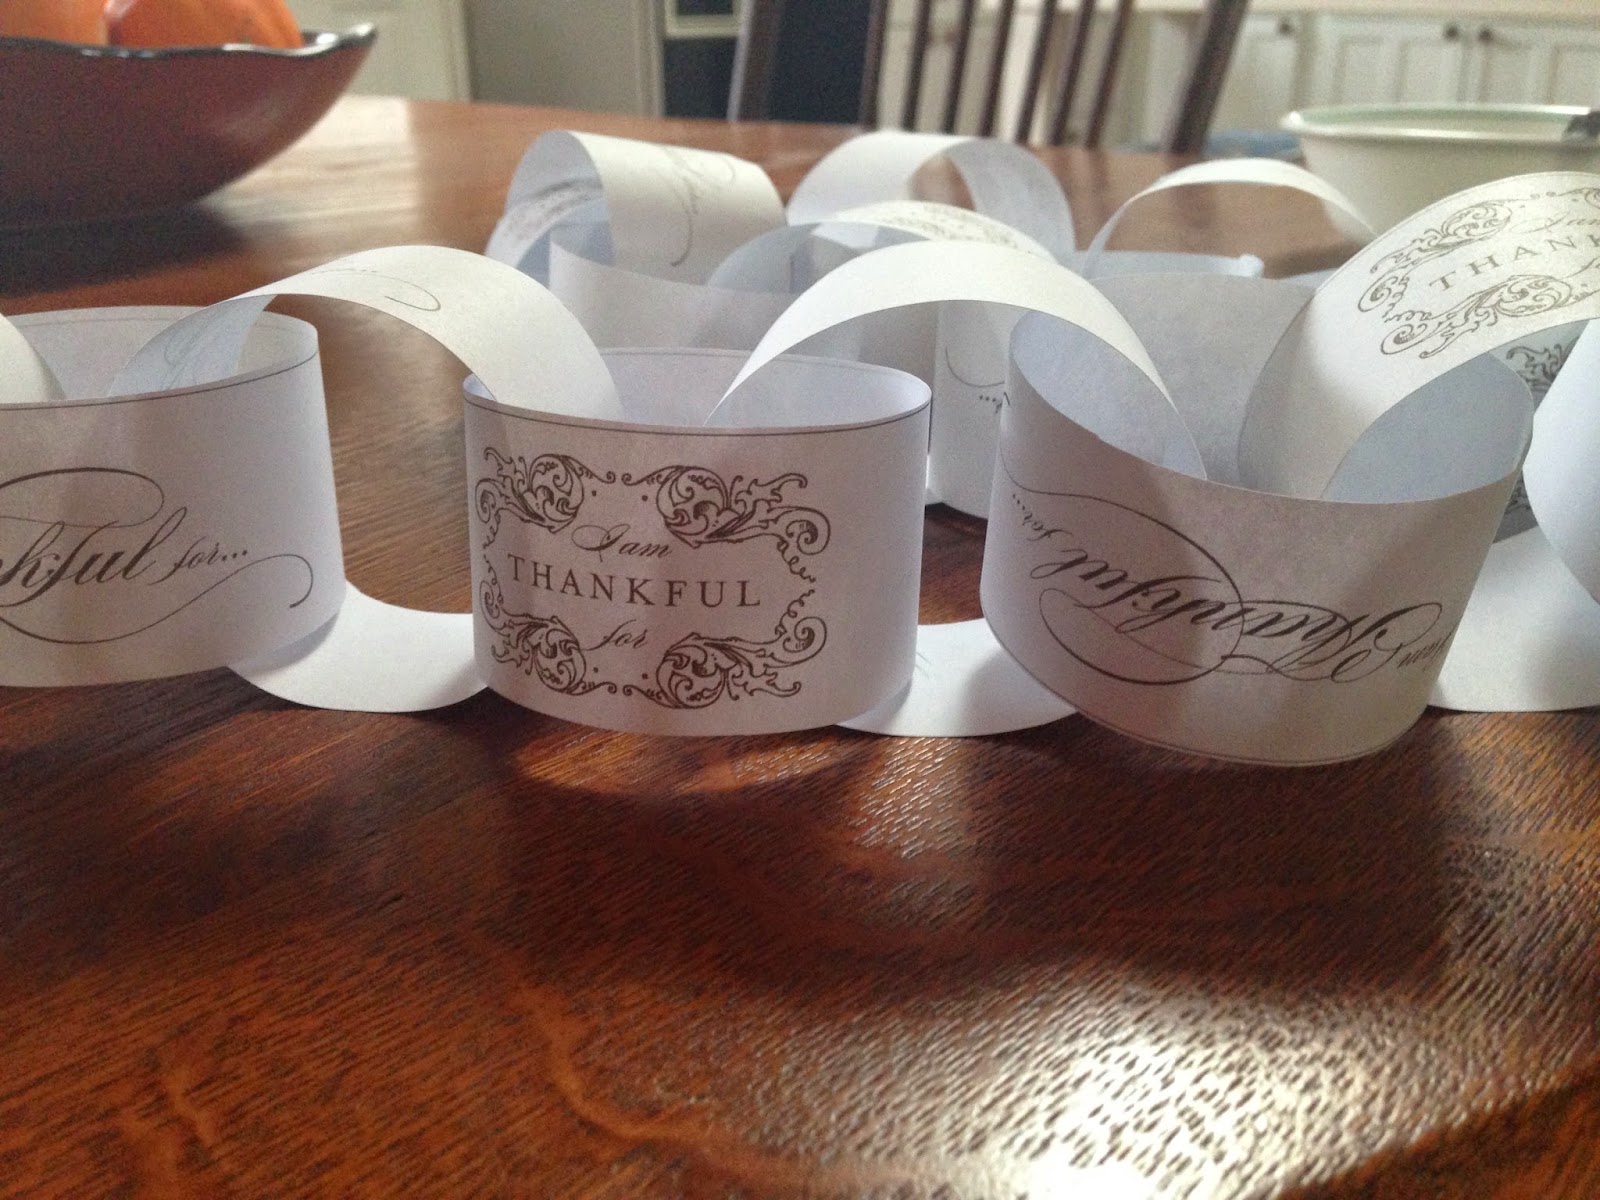
The first thing we are making is a thanksgiving countdown.
To make it, I just used this printable (for free!).
Cut it up
Fold it over on itself in a loop and tape.
Tape it together by looping each one through each other.
Repeat!
It is really fun. Some of them just say thankful and others say "I am thankful for..." . We write something on it that my son says he is thankful for each day. It makes things more exciting for him and gives him a subtle reminder of the purpose of the holiday... or at least what I think is important to take from the holiday (being thankful for what we have).
He has actually gotten really excited about saying what he is thankful for everyday. He really thinks about it. It is really sweet and those are moments you cherish as a parent (or at least I do!) so it is very worth the paper and time!
Silhouette banner
I used this printable and this printable (free!) and some "scrapbooking" paper I had laying around... construction paper will work too!You'll also need scissors, tape and sting/yarn
I cut the silhouette pictures out at about 6" by 4" with the pictures in the center.
Next I cut my scrapbooking paper to about 8" by 5"
I then taped the silhouettes onto the paper in the center, about a half an inch from the top.
Next, I cut a triangle out of the bottom.
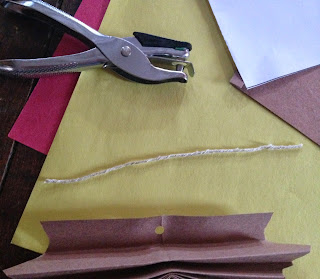
Then I hole punched the top two corners of each piece.
Put it on the string
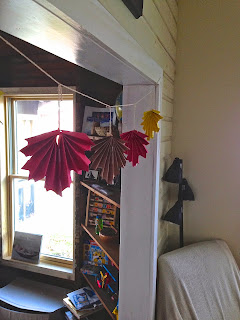
And hung it up!
Next we made folded leaf banners
The folded leaf is one of my favorite crafts this year! Its so easy and really cute! First, you'll need this printable (for free!)also you'll need:
Scissors
Hole punch
Tape
Construction paper
String
First you'll need to cut out your pattern and line it up to the folded edge of your construction paper. If you do large construction paper "hotdog" fold, you will have enough room for 2.
Cut it out, leaving the folded edge uncut
Fold the longest side up 1/2 inch
Continue to fold 1/2 inch at a time accordion style.
Do this all the way up the paper
fold it in half so that he long side is in the middle and short on the outside
lay it flat again and hole punch in the middle on the short side
Cut a 6" piece of string
Tie the string around the hole.. gently.. you don't want to rip the paper
Next, take the middle pieces (long sides) together.. making sure tape the top so it stays snug together
Tie it onto the string you will hang it with & repeat
Hang it up! (or have your freakishly tall husband hang it up...like in my case lol)
Enjoy!


No comments:
Post a Comment